*This post may contain affiliate links for which I earn commissions.*
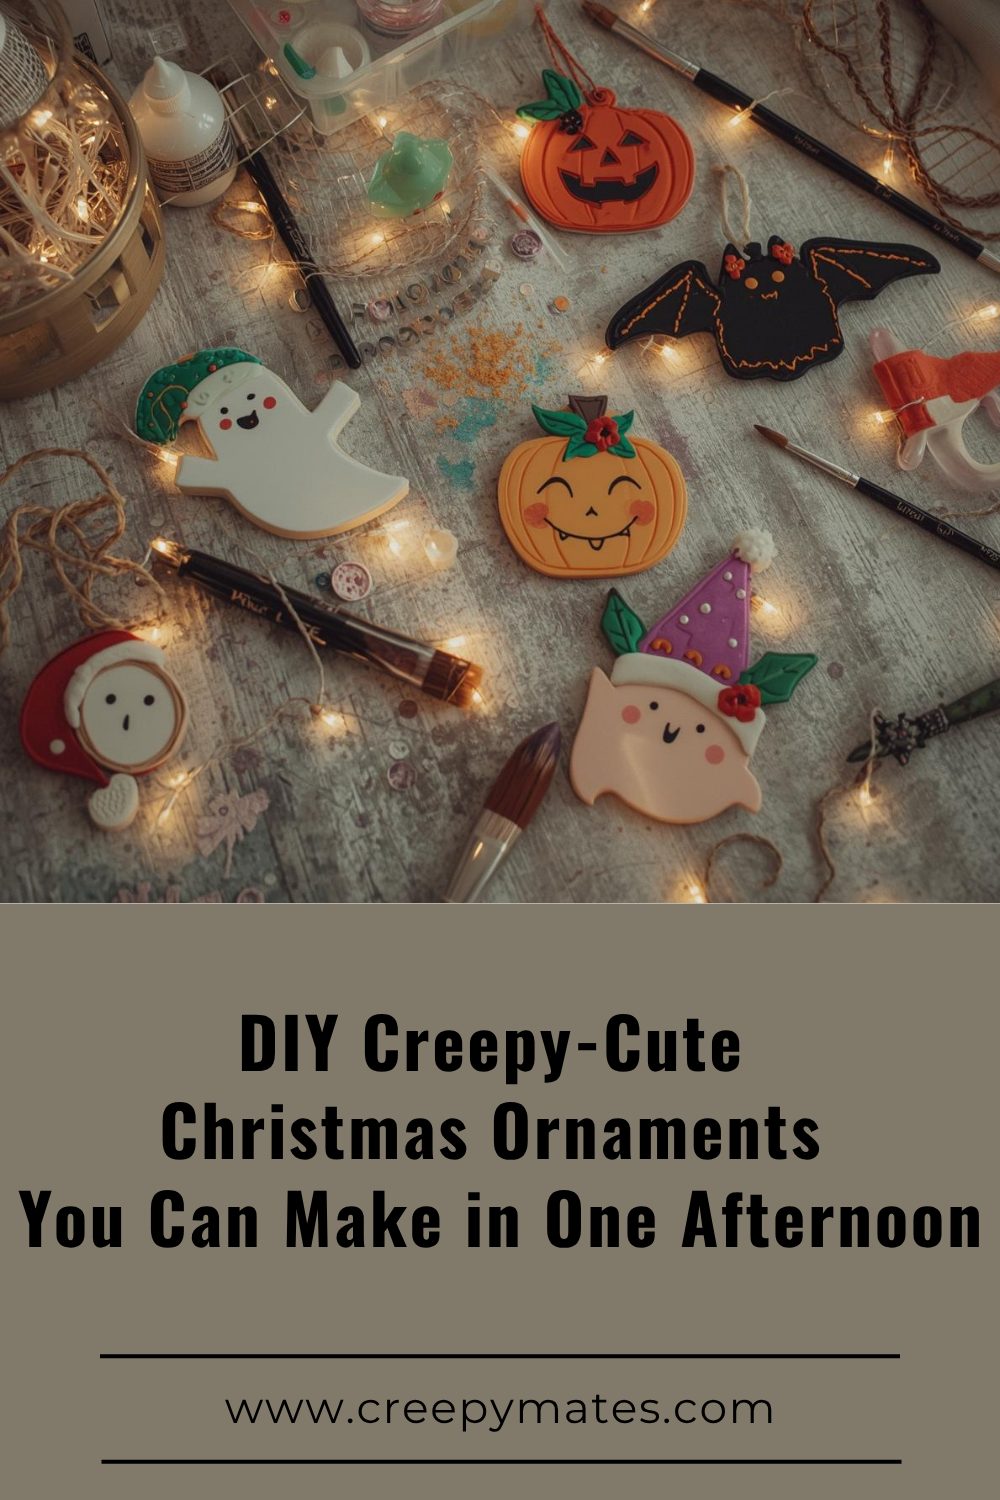
DIY Christmas ornaments add a personal touch to your holiday decor. This year, why not mix things up with some creepy-cute designs?
You can whip up unique ornaments that blend spooky charm with festive cheer in just one afternoon. Most of the supplies are probably already lurking in your craft drawer.
If you’ve ever wondered why creepy-cute decor feels so comforting, you’ll love this look into why horror aesthetics actually soothe us.
These playful decorations are a fun way to make your tree stand out. Plus, it’s a good excuse to spend some quality time crafting.
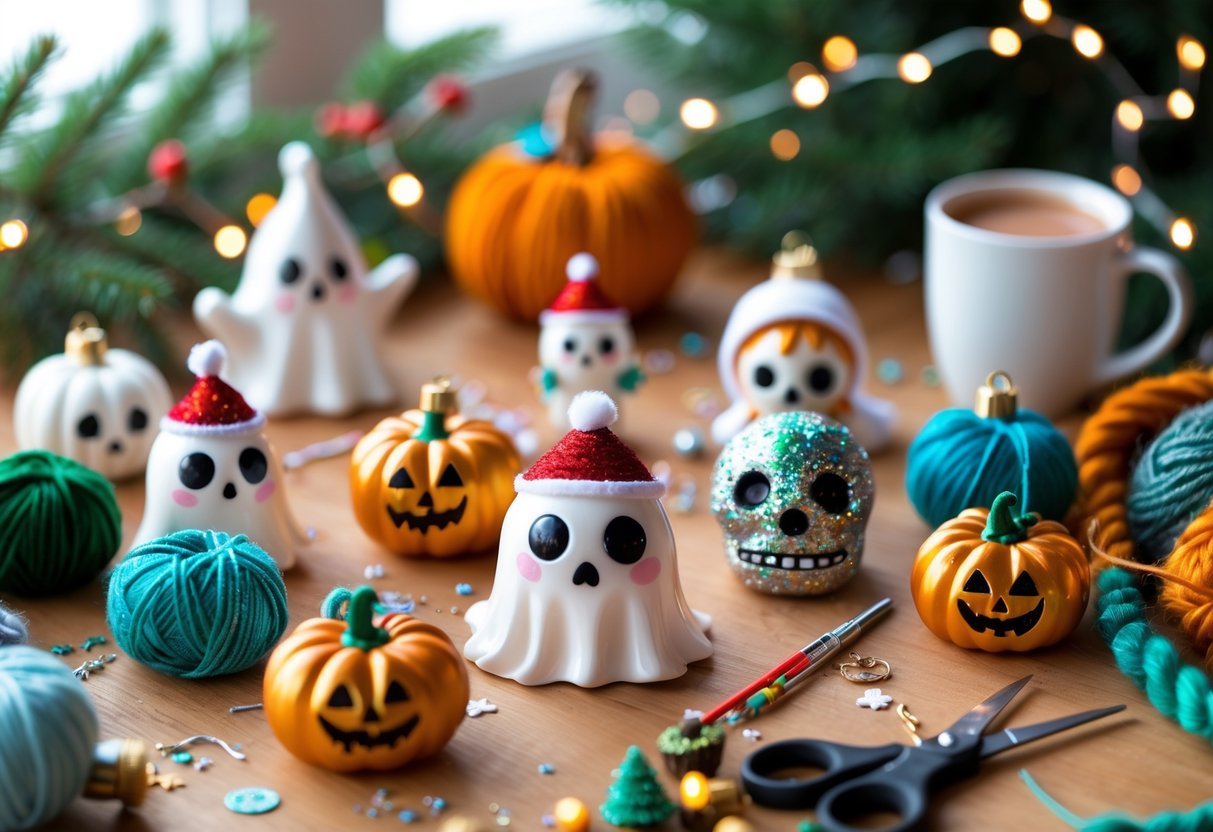
I love making ornaments that catch people off guard with their weird little personalities. Creepy-cute style is all about mixing Halloween vibes with Christmas spirit.
You get things like tiny skull snowmen, ghost angels, or glittery spider baubles. Guests usually do a double-take, which makes it all worth it.
My favorite thing about these projects? They come together fast.
Grab some paint, glitter, and clear ornaments. Suddenly, you’re transforming ordinary stuff into decorations people actually talk about.
You can go wild with sparkle or keep things pretty simple. Either way, your tree will show off your unique style.
Essential Supplies for Creepy-Cute Christmas Ornaments
Having the right supplies really makes a difference with these ornaments. Color palette, materials, and how you display them all play a part in the final vibe.
Choosing Your Color Scheme
I always reach for non-traditional Christmas colors to nail that creepy-cute look. Black and orange together? It just works.
Primary Colors to Use:
- Deep purples and midnight blues
- Charcoal gray and silver
- Dark forest green (instead of bright green)
- Burgundy or wine red (instead of bright red)
Accent Colors:
- Metallic copper and bronze
- Cream or off-white (not pure white)
- Dusty pink for a gothic touch
I usually stick with three main colors per ornament. Too many colors can get chaotic fast.
Test out color combos on scrap paper first. Some pairings look great in theory but not so much on tiny ornaments.
Not sure which palette fits your vibe? Take a peek at how your favorite horror style can shape your decorating personality.
Must-Have Craft Materials
Basic Supplies:
- Hot glue gun and extra glue sticks
- Sharp craft scissors
- Black fine-tip markers
- Acrylic paints in your chosen colors
- Small paintbrushes
Specialty Items:
- Mini googly eyes (various sizes)
- Black felt sheets
- Twine or thin rope
- Small wooden beads
- Clear or colored ball ornaments
I keep a stash of mini pom-poms in dark colors. They’re perfect for noses, bodies, or just adding texture.
Wire and string are essential for hanging loops. Thin black wire is my go-to since it disappears against the tree.
Don’t forget protective gear. I’ve burned myself with hot glue more times than I’d like to admit.
Selecting Tree Types for Display
Dark green trees really make creepy-cute ornaments pop. The deep color helps lighter details stand out.
Flocked trees in white or gray look like a winter wonderland. Dark ornaments look extra dramatic against the snowy branches.
I skip brightly colored artificial trees. Pink, white, or silver trees just don’t fit the gothic vibe.
Branch spacing matters if you’re hanging bigger ornaments. Make sure your tree can handle the weight.
Mini tabletop trees are awesome for showing off a small collection. You can set up a whole themed scene on a mantle or side table.
Easy DIY Creepy-Cute Ornament Ideas to Start With
These beginner-friendly projects use basic craft supplies. You can finish each one in just a few hours.
Each design mixes spooky and cute details for that perfect balance.
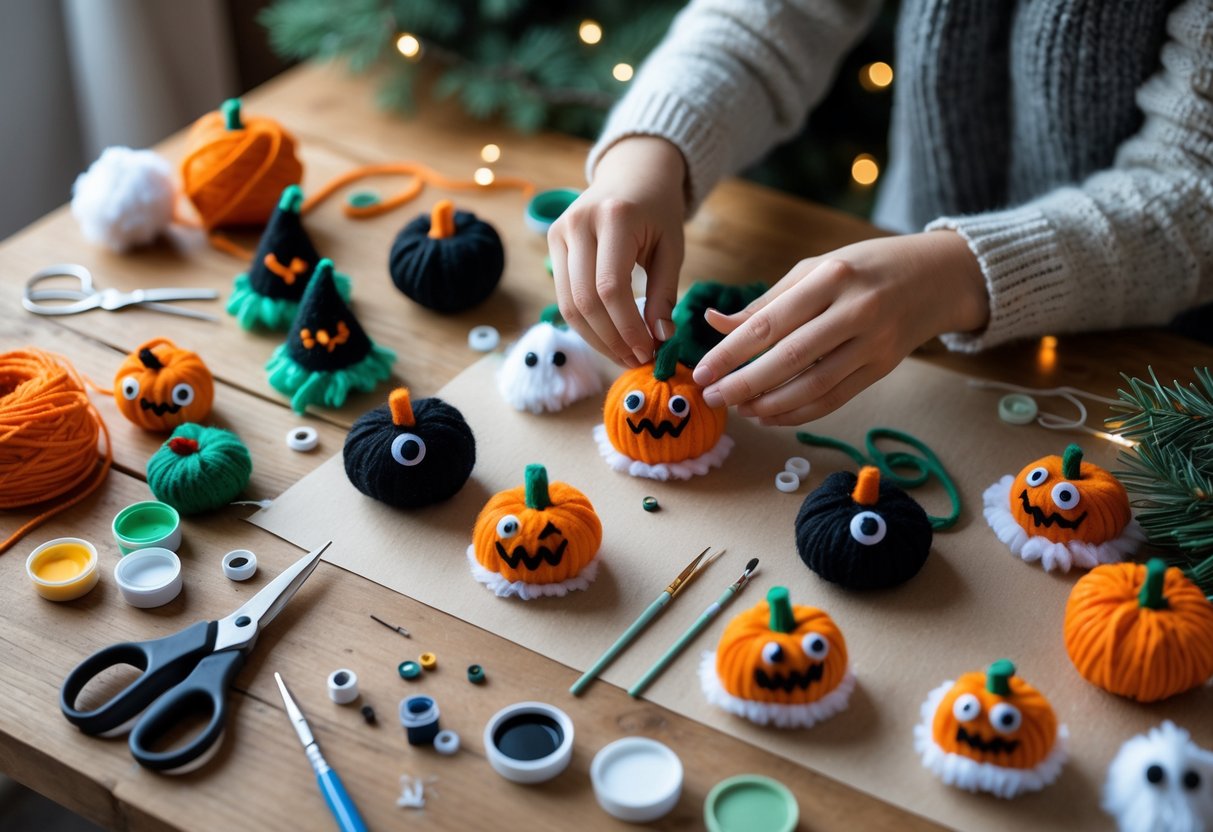
Mini Witch Hats for Your Tree
Tiny witch hats are one of my favorites. They look awesome and only need black felt, small foam cones, and some sparkly ribbon.
Cut a circle of black felt about 4 inches wide. Poke a hole in the center and slide it over your foam cone.
The felt circle becomes the brim. Wrap the cone in black felt and glue it down.
Add a thin ribbon where the brim meets the cone. I like purple or orange for a little pop.
Make each hat unique. Dust some with glitter, glue on mini skulls, or add fabric flowers.
Finish with a hanging loop. Thin ribbon or embroidery thread in a bright color really stands out on the tree.
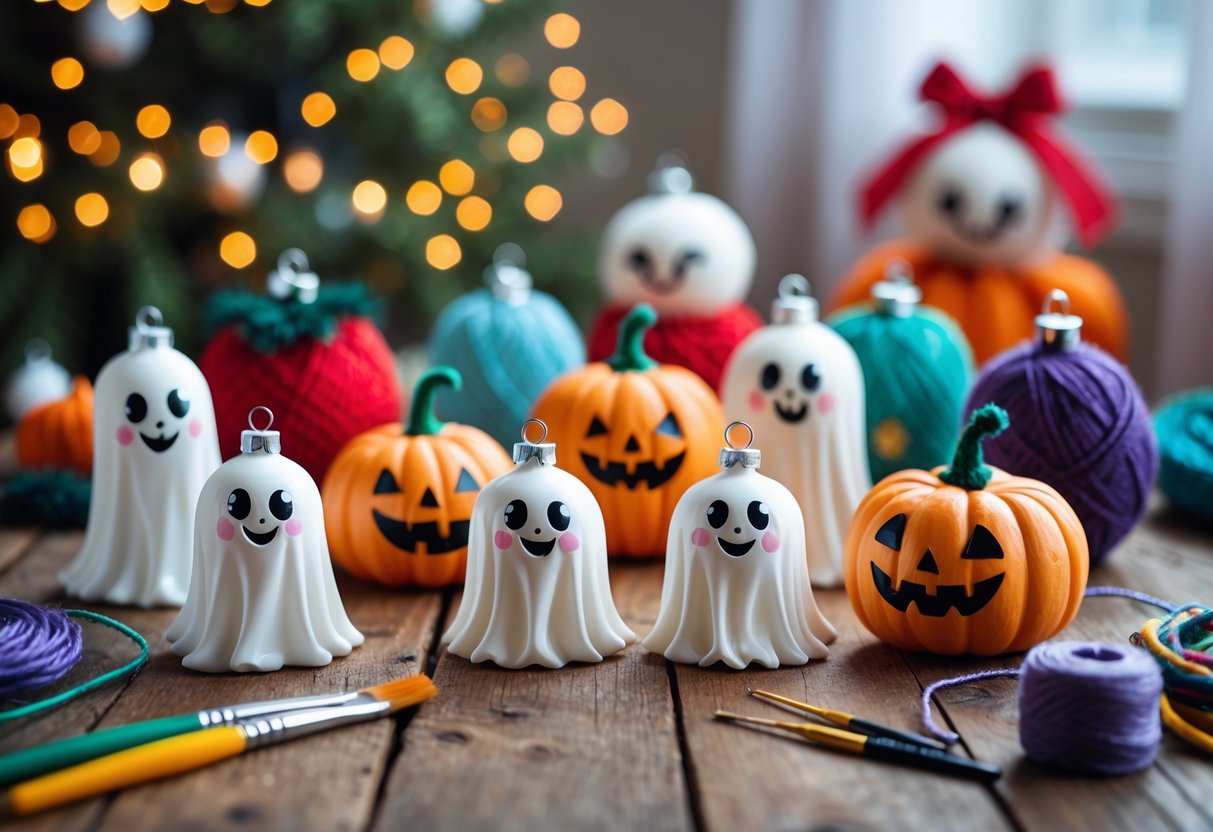
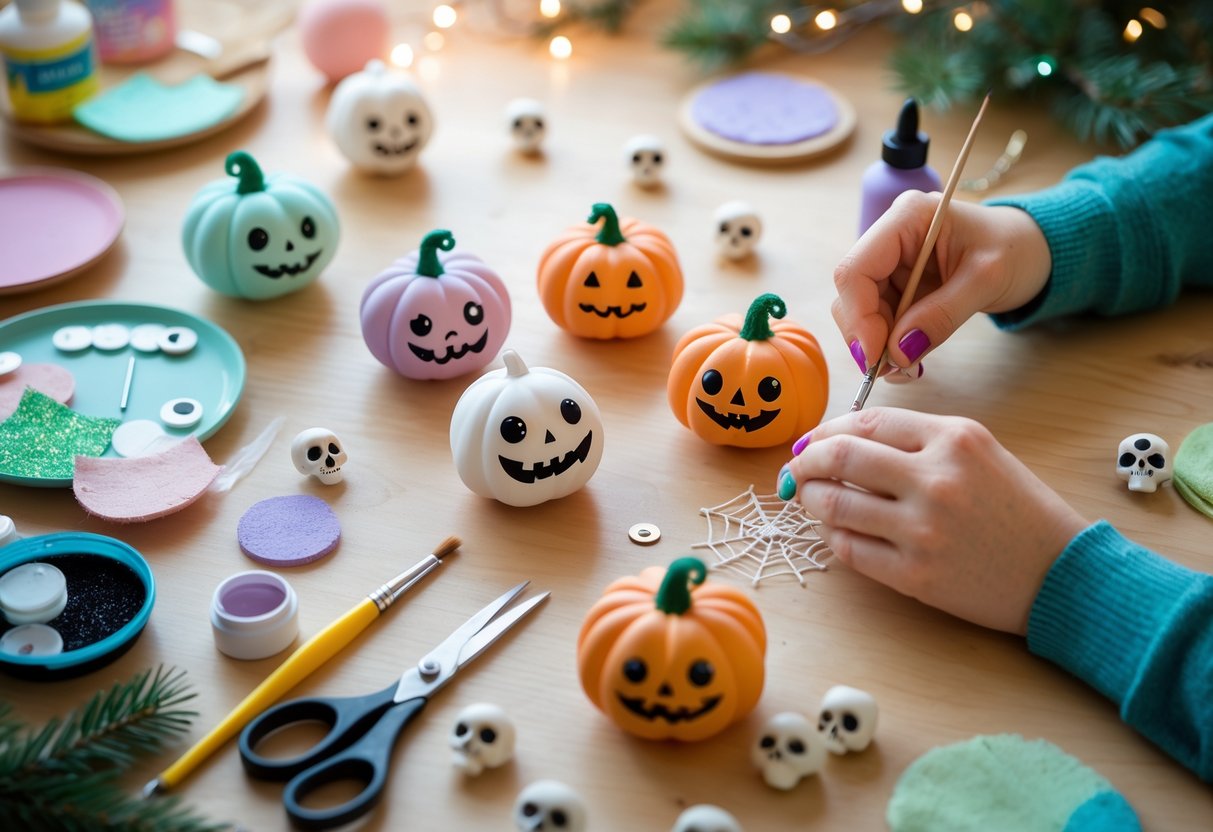
Pumpkin-Inspired Baubles
Orange foam balls make fantastic mini pumpkins. You can grab them at any craft store.
Use a butter knife to press vertical lines into the foam. That gives you the classic pumpkin look.
Paint the whole ball orange and let it dry. The lines still show through.
Cute face options:
- Black triangle eyes with stitched mouth
- Sleepy eyes with rosy cheeks
- Winking face with heart nose
- Simple dots for eyes and smile
Glue a small brown or green wooden bead on top for the stem. It covers the ornament cap and looks more realistic.
Paint faces with a tiny brush and black acrylic paint. Keep it simple. Big round eyes are easier than detailed features.
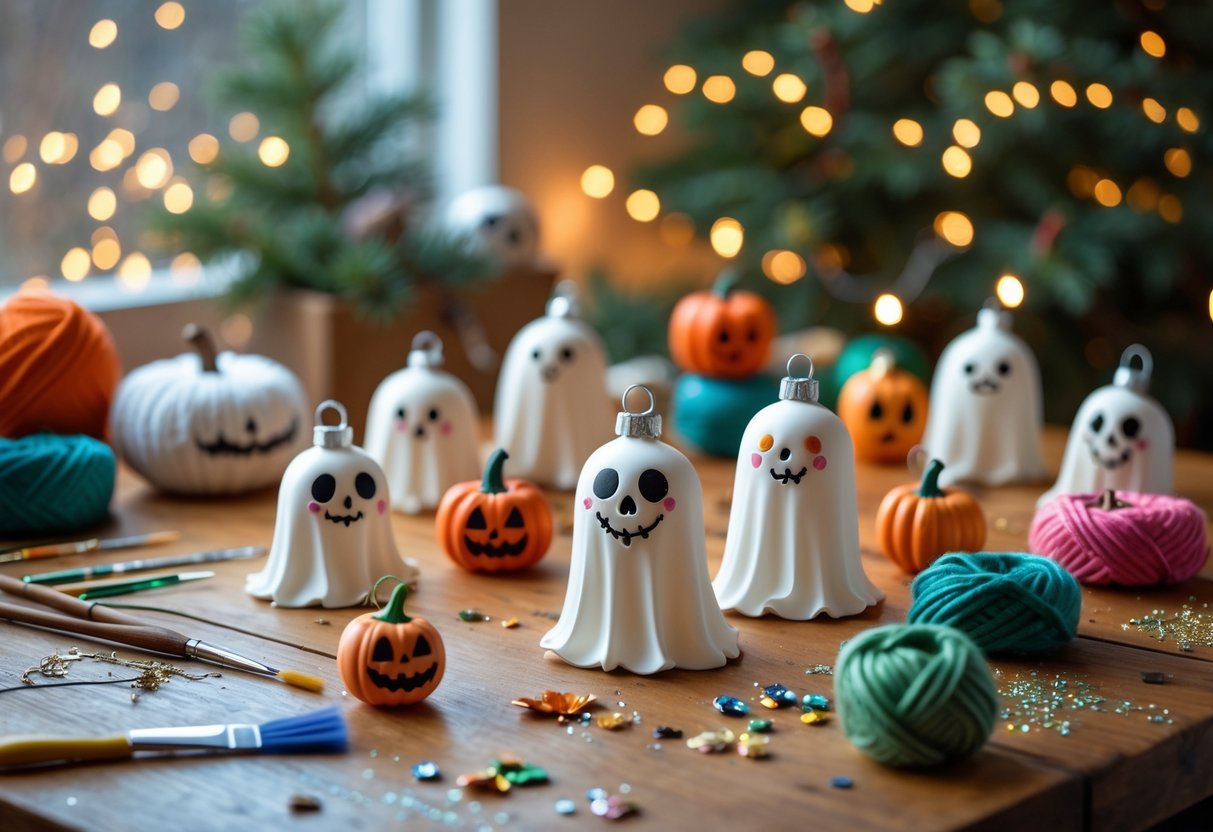
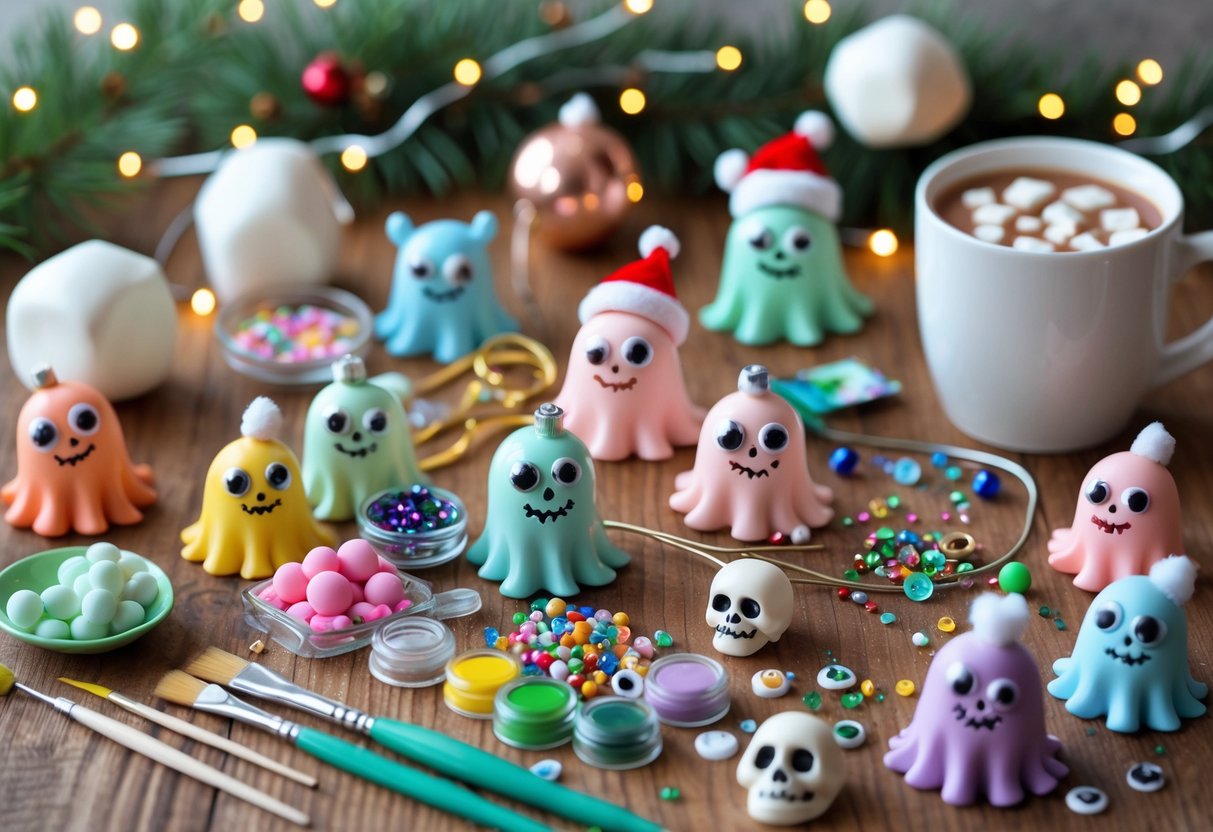
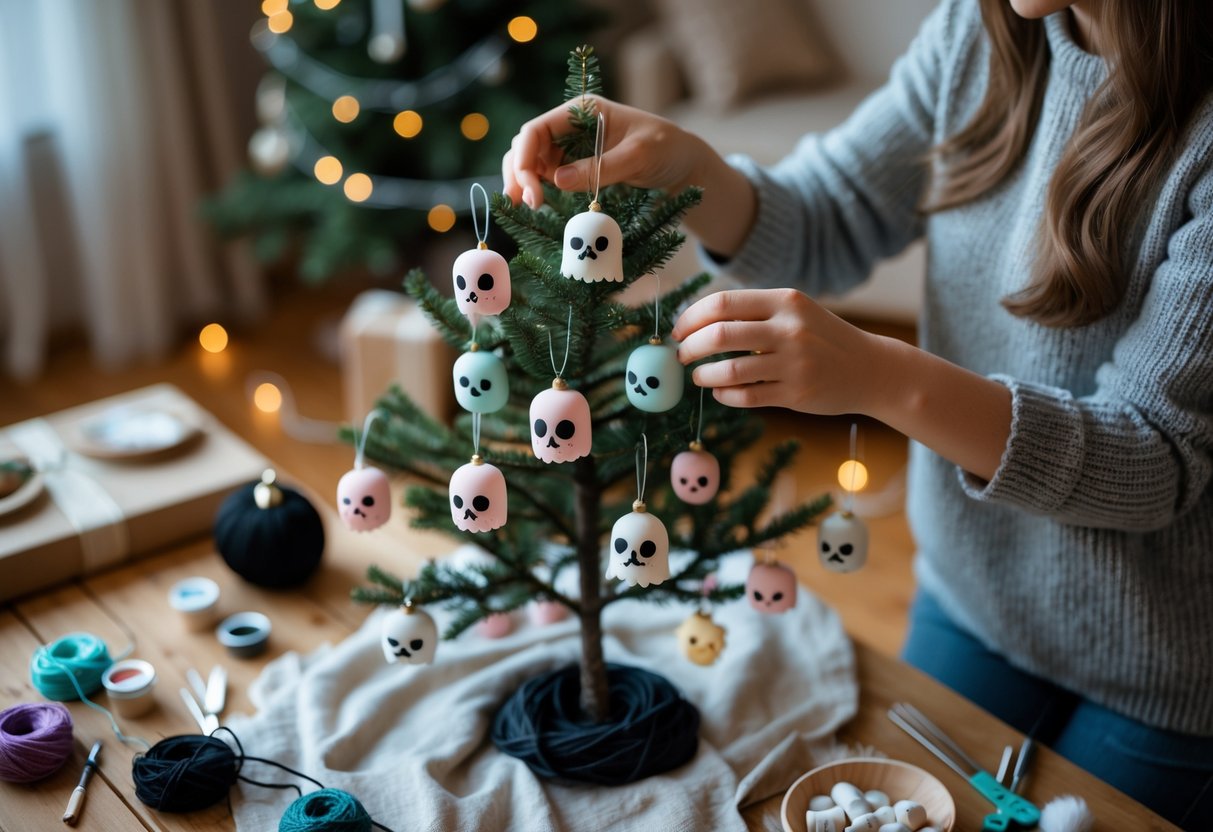
Pastel Monsters and Ghosts
Pastel colors make monsters look friendly instead of scary. I use light pink, lavender, mint green, and baby blue.
Clear plastic ornament balls work great. Take off the cap, pour in paint, and swirl it around.
Let the paint dry with the opening facing down. That helps avoid drips and gives a smooth coat.
Monster features to add:
- Googly eyes in different sizes
- Felt horns or spikes
- Tiny fangs cut from white felt
- Rosy cheek circles
- Simple smiles with black marker
For ghosts, use white or pale gray paint. Draw black dot eyes and an “o” mouth for a surprised look.
I like mixing up eye sizes. One big, one small, and somehow that makes them even more lovable.
Cute Spiders and Bats
Black pom-poms make perfect spider bodies. Use a big one for the body and a smaller one for the head.
Glue the head on top of the body. Cut eight black pipe cleaners for legs, about 3 inches each, and bend them into shape.
Spider details that add charm:
- Pink or red bows between the head and body
- Tiny white fangs
- Multiple eyes using small beads
- Striped legs with white paint dots
For bats, cut wings from black felt. Make them a bit bigger than you think you’ll need.
Glue the wings to a black pom-pom body. Add felt ears and tiny white fangs.
I use small beads for bat eyes. They look a little fancier than googly eyes.
Use strong loops for hanging. Pom-poms can be heavier than you expect.
Spooky Glam: Adding Sparkle and Texture
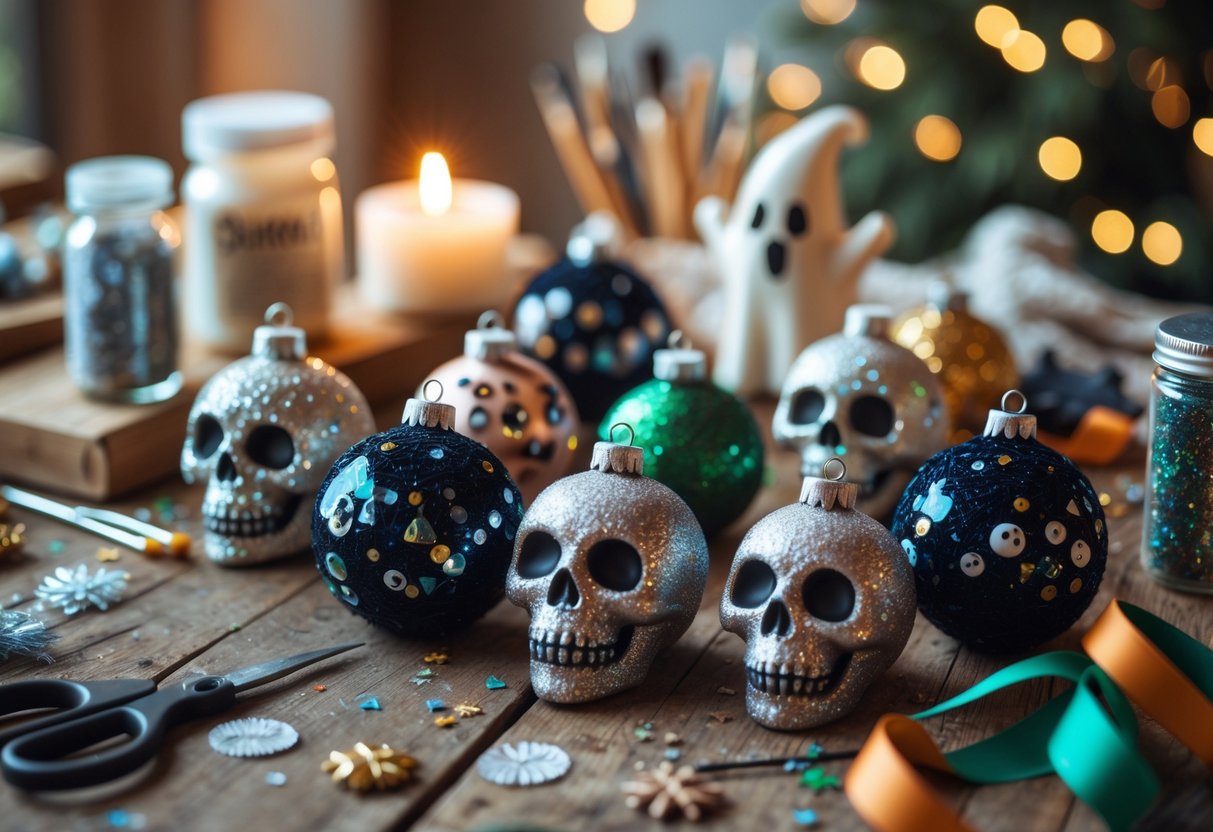
You can turn plain ornaments into show-stoppers with glitter, sequins, and fun textures. These tricks catch the light and add a little drama to your tree.
Glittery Jack-o’-Lanterns
Pumpkin ornaments look amazing with a little sparkle. Start with orange plastic or glass balls.
Take off the cap and pour about 15ml of clear acrylic sealer inside. Swirl it gently to coat the whole inside.
Let the extra sealer drain out by turning the ornament upside down in a cup. Move fast so it doesn’t dry.
Materials needed:
- Orange ball ornaments
- Extra-fine orange or gold glitter
- Clear acrylic sealer
- Small funnel
Pour fine glitter in with a funnel. Orange is classic, but gold makes it glam.
Swirl the glitter to cover the inside. Tap out the extra and save it for next time.
Let them dry for a full day before replacing the caps. The glitter sets for good.
Draw jack-o’-lantern faces on the outside with a black permanent marker. Triangle eyes and jagged smiles are always a hit.
Sequined Witch Hats
Witch hats covered in sequins shimmer like crazy on your tree. Foam cones make the perfect base.
Pick up small foam cones and paint them black. Let them dry before adding anything else.
Sequin application tips:
- Use fabric glue, not hot glue
- Start at the bottom and work up
- Overlap sequins slightly
- Matte black or purple sequins look great
Apply glue in small sections. Press on sequins, overlapping as you go.
Cut a circle from black felt for the brim. Cut a smaller circle in the middle so it fits.
Cover the felt brim with sequins too. Glue the brim to the bottom of the cone.
Add a ribbon or wire loop to the top for hanging. These hats really sparkle under the lights.
Faux Fur and Feather Accents
Soft textures like faux fur and feathers give ornaments a spooky, elegant feel. They add depth and look super cool.
Black faux fur works great for bat wings. Cut wing shapes from cardboard, then trace them onto the fur.
Cut carefully, only slicing through the backing and not the fur fibers. Glue the fur to your cardboard wings and trim the edges.
Feather accents turn plain ornaments into creepy ravens or gothic stunners. Black feathers are the most dramatic.
Glue feathers onto ball ornaments, starting at the bottom and layering up. Mix different feather types for more texture.
Mixing textures keeps things interesting. Try glitter bases with feather accents, or faux fur with sequins.
Textured ornaments catch the light in new ways. They add visual weight and a little drama to your collection.
If your idea of sparkle leans more toward blood-red glitter than tinsel, you’ll adore these gothic vampire-inspired holiday finds.
Step-by-Step Tutorials for Creepy-Cute Ornaments
These three projects combine traditional Christmas crafting with spooky elements. Each one uses simple supplies and only takes a few hours.
DIY Corpsed Foam Pumpkins
I start with small foam pumpkins from the craft store. The “corpsing” technique makes them look aged and weathered.
Materials needed:
- Small foam pumpkins (2-3 inches)
- Black acrylic paint
- Dark brown paint
- Makeup sponges
- Matte finish spray
- Thin ribbon or twine
Mix black and brown paint to get a muddy gray shade. Dab a makeup sponge into the paint and blot off the excess.
Dab paint into the pumpkin’s grooves and crevices. This adds shadows and makes it look old.
Let each coat dry for about 15 minutes. For deeper aging, dry brush pure black paint into the grooves.
Once dry, spray with matte finish to seal it. Twist a small screw eye into the top and thread ribbon through for hanging.
These pumpkins look awesome mixed in with traditional ornaments.
Making Witch Hat Toppers
These miniature witch hats add instant spooky charm to plain ornaments. You can also hang them alone on branches.
Materials:
- Black cardstock or felt
- Small glass or plastic ornament balls
- Hot glue gun
- Silver or gold paint pen
- Small decorative spider or star
I cut a half-circle from black cardstock, about 4 inches across. Then I roll it into a cone and secure it with hot glue.
The opening needs to be wide enough to sit on top of an ornament. Next, I cut a circle for the brim.
I trace around the hat’s base, then draw a bigger circle around it. After that, I cut out the center so the hat fits through.
I slide the brim up the cone and glue it in place. For decoration, I use a paint pen to draw tiny stars or moons.
A small plastic spider glued to the brim adds extra creepiness. These witch hats look amazing on black or purple ornament balls.
They also work as toppers for small tabletop trees.
Mini Doll Head Ornaments
This project transforms small doll heads into hauntingly beautiful Christmas decorations.
Materials needed:
- Small plastic doll heads (craft store)
- White and gray acrylic paint
- Fine paintbrush
- Clear gloss spray
- Thin wire or ornament hooks
- Small drill with tiny bit
I start by painting the entire doll head with watered-down gray paint. It gives an aged, ghostly look.
While the paint is still wet, I dab with a paper towel for texture. Once dry, I use a fine brush to add darker gray shadows around the eyes and mouth.
I paint the lips a very pale pink or just leave them gray for a more ghostly effect. The eyes get special attention.
I paint them white first, then add tiny black dots for pupils. This gives them an eerie, staring look.
After everything dries, I spray them with clear gloss to make them look porcelain-like. Finally, I drill a small hole in the top and insert thin wire for a hanging loop.
These doll head ornaments look stunning mixed with vintage-style decorations.
Personalizing Your Ornaments with Materials from Home
You can turn plain ornaments into creepy-cute masterpieces using simple items you already have around the house. Old ornaments can be transformed with basic painting tricks and household supplies.
Upcycling Old Christmas Ornaments
I love giving old ornaments a spooky makeover with materials I find at home. Clear glass balls work perfectly for this project.
Mason jar lids make great bases for mini scenes. I glue small plastic spiders or toy skulls inside clear ornaments with a bit of fake snow for a winter graveyard effect.
Fabric scraps from old clothes create perfect ghost shapes. I cut small pieces of white fabric and attach them to ornament caps with hot glue.
A few stitches with black thread make simple ghost faces. Old buttons become creepy eyes when I glue them onto solid-colored ornaments.
I use different sized buttons to make spider eyes or monster faces. Twine or yarn wrapped around ornaments creates mummy effects.
I leave some loose ends hanging for that old, dusty look. Black yarn works great for making spider webs on clear ornaments.
Easy Drawing and Painting Techniques
Basic drawing supplies can transform any plain ornament into something wonderfully creepy. I use permanent markers to draw simple skull faces on white ornaments.
Acrylic paint works best on glass and plastic surfaces. I mix black and white to create gray zombie skin tones.
Small brushes help me add tiny details like stitches or scars. Nail polish creates glossy, blood-like drips.
Red polish dripped down from the top of green ornaments looks like bleeding Christmas trees. I use cotton swabs to blend colors and create smoky effects.
This technique works great for making ghostly faces that fade into the background. Food coloring mixed with water creates translucent colors inside clear ornaments.
A few drops of green and black make perfect witch potion effects.
Once your ornaments are done, try using them as accents in a handmade spooky gift box for fellow horror lovers.
Decorating and Styling Your Creepy-Cute Tree
Creating the perfect balance between spooky and adorable means thinking about where you place your ornaments. Mixing Halloween elements with traditional Christmas charm is all about experimenting until it feels right.
Arranging Spooky Ornaments for Maximum Impact
I always start by placing my largest ornaments first. This creates anchor points throughout the tree.
Bold statement pieces like oversized spider ornaments or creepy dolls work best in the middle sections. They catch the eye right away.
Next, I cluster smaller ornaments in groups of three or five. Odd numbers just look better for some reason.
I space these clusters evenly around each layer of branches. Depth is crucial for visual interest.
I hang some ornaments close to the trunk and others at the branch tips. This makes the tree look fuller, almost layered.
I step back often to check my work. Sometimes what looks good up close seems off from across the room.
Moving ornaments until everything feels balanced actually makes a big difference.
Mixing Creepy and Cute Elements
The secret to creepy-cute styling is intentional contrast. I pair adorable ghost ornaments with slightly sinister ones.
A smiling pumpkin next to a gothic bat creates that perfect tension. I use a 60-40 ratio as my guide, about 60% cute and 40% creepy.
Too many scary pieces can overwhelm the charm, so I try to keep it playful. Color coordination ties everything together.
I stick to orange, black, purple, and white. Even the creepiest ornament feels right if it matches the color scheme.
I also vary textures on purpose. Smooth ceramic pumpkins next to fuzzy spider ornaments just feel more interesting.
Shiny glass pieces reflect light beautifully against matte felt decorations.
Incorporating Fun Halloween Accents
Witch hats make excellent tree toppers or you can hang them from branches at different angles. I like scattering miniature versions throughout the tree for a whimsical vibe.
String lights in orange or purple add magical ambiance. I weave them behind ornaments for gentle backlighting.
Battery-operated versions are safer and easier to work with. Small fabric bats attached to branches with thin wire look like they’re flying around the tree.
I position them at different heights to create movement. Tiny pumpkins (real or fake) nestled in branch crooks add natural Halloween charm.
I secure them with florist wire so they don’t fall off. Ribbon in Halloween patterns ties everything together.
I use it sparingly as garland, letting it drape naturally between ornament clusters. It looks more relaxed that way.
Frequently Asked Questions
Making creepy-cute Christmas ornaments is honestly easier than you might think. The right materials and some simple techniques go a long way.